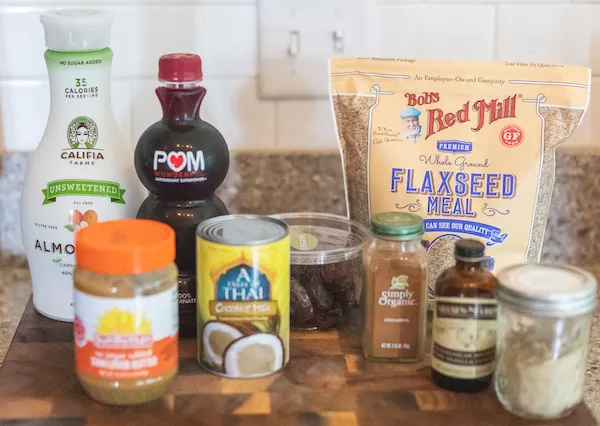
For the most part, all you need to complete the Clean Slate Cleanse is a well-stocked kitchen. Load up on gluten-free, sugar-free, plant-based whole foods, and you’re good to go. However, during the Cleanse you may wish to participate in some optional enhancers. This post will help you decide which of these you may want to add in and direct you to places to purchase optional tools.
Good Clean Water
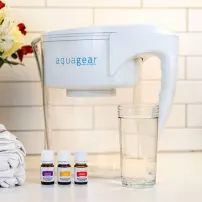
Quite possibly the most important thing you can do while on the Cleanse is to drink lots and lots of water. Water not only helps flush toxins from the body, it can also help you avoid headaches and other effects of detoxification. In order to ensure clean, pure water, I suggest purchasing a water filtration device.
My favorite water filter is my Aquagear Water Pitcher. Aquagear pitchers remove 89 water contaminants. The water from my Aquagear tastes crisp and clean, and I know I don’t have to worry about any contaminants.
Something about using a favorite water bottle also encourages me to drink more water throughout the day.
Tools to Boost Your Water Intake
- Aquagear water pitcher
- Sip by S’well water bottle
Yoga

During the Clean Slate Cleanse, you have the option to attend weekly yoga sessions. When we embark on a detoxification process, it’s easy to become a little obsessed with food, and our thoughts and attention may become fixated on food. Yoga can help broaden your focus and perspective to one of improving emotional and physical health.
Practicing yoga during the Cleanse heightens your awareness while you learn about the alternative ways of eating while feeling and observing the detox process going on.
Tools for Yoga
Meditation
Meditation is an important tool to help process some of the emotions during the Clean Slate Cleanse. You may take just a few moments to contemplate your feelings, or you may choose to spend several minutes meditating. Because distraction is the enemy of successful meditation, removing distractions and creating a comfortable space will improve your experience. Try this meditation pillow.
Continuous Glucose Monitoring
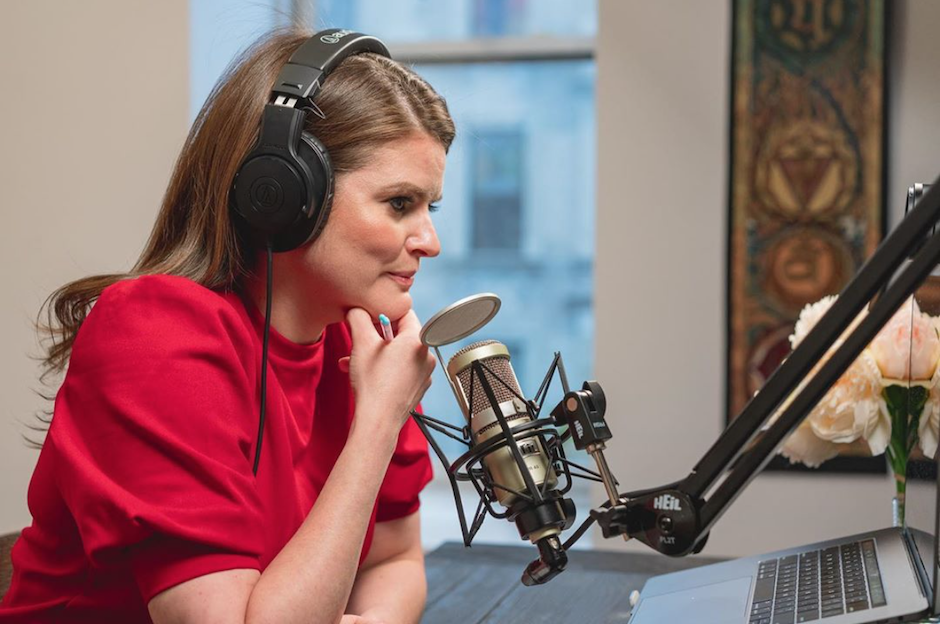
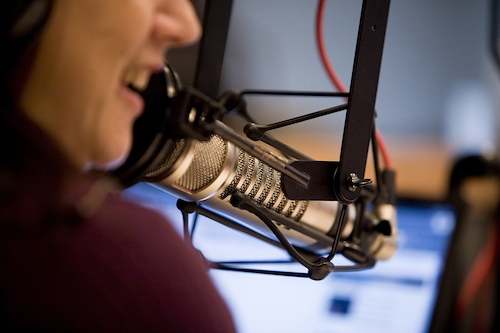
If you have food sensitivities, then you may want to consider Continuous Glucose Monitoring (CGM). CGM is a way to monitor your blood sugar levels throughout the day. Blood sugar tracking is critical to seeing how the body reacts to the foods youu eat. This can provide insight for managing weight, energy levels and more. You can learn more about the benefits of CGM in this podcast.
Order a continuous glucose monitor here with the code Lindsey.
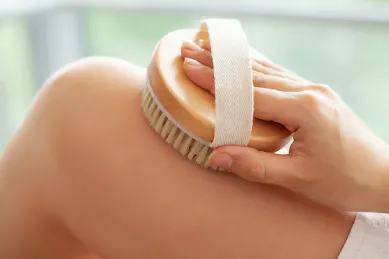
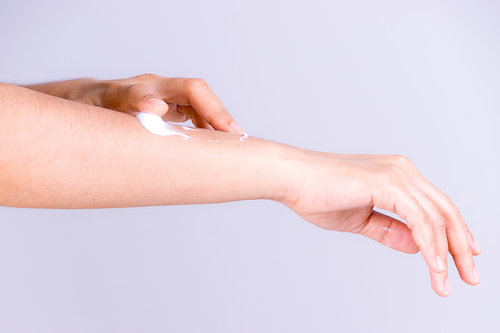
Dry Brushing
Dry brushing is a great way to stimulate lymphatic flow to encourage the elimination of toxins. Read more about dry brushing here.
Order a natural bristle brush here.
Ionic Detoxification Foot Bath
An ionic detox foot bath is a natural method of assisting the body to eliminate harmful toxins, heavy metals, and other foreign matter. An electrical current in a module emits ions in the foot bath. This re-energizes the body while eliminating toxins from the kidneys, liver, bowels, and skin. The foot bath also triggers the body’s lymphatic system for continued detoxification.
Order an ionic detoxification foot bath here.
Castor Oil Pack
Castor oil packs have immune-supportive, analgesic, anti-inflammatory, laxative, and uterine relaxation effects. Plus, they are one of my favorite ways to pamper myself. Learn more about the benefits of castor oil packs here.
Tools for castor oil pack
Gallbladder Flush
The function of the gallbladder is to store and concentrate bile. Bile is important for the digestion of fats, and it also collects waste products from the liver and passes them into the small intestine. People with gallstones rarely feel any symptoms until the stones are large enough to obstruct flow of bile through the biliary system. Cleansing the gallbladder is easy and requires only a few ingredients: green apples, olive oil, lemon juice, and Epsom salts.
Tools for gallbladder flush
Coffee Enema
Coffee enemas may also help detoxify the liver, reduce abdominal pain, and release toxic matter and parasites.
Tools for coffee enema
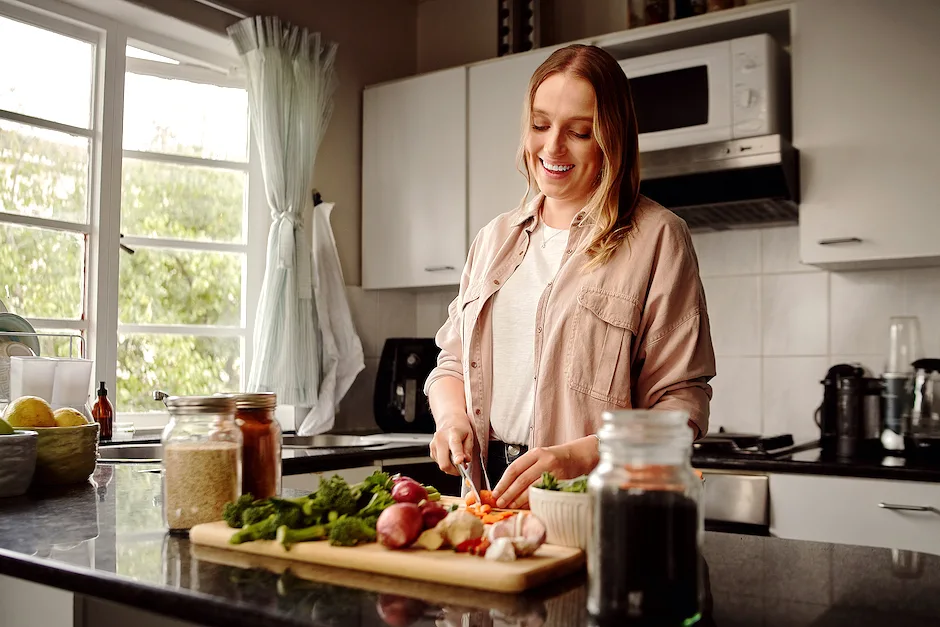
Kitchen Tools
We all have our favorite knife, cookware, and other tools in the kitchen. Here I will list some of my must-haves for you to check out. Maybe it’s time for a kitchen upgrade?
- Good quality 8- or 10-inch knife
- Solid hardwood cutting board
- Food processor
- Immersion blender
- Juicer
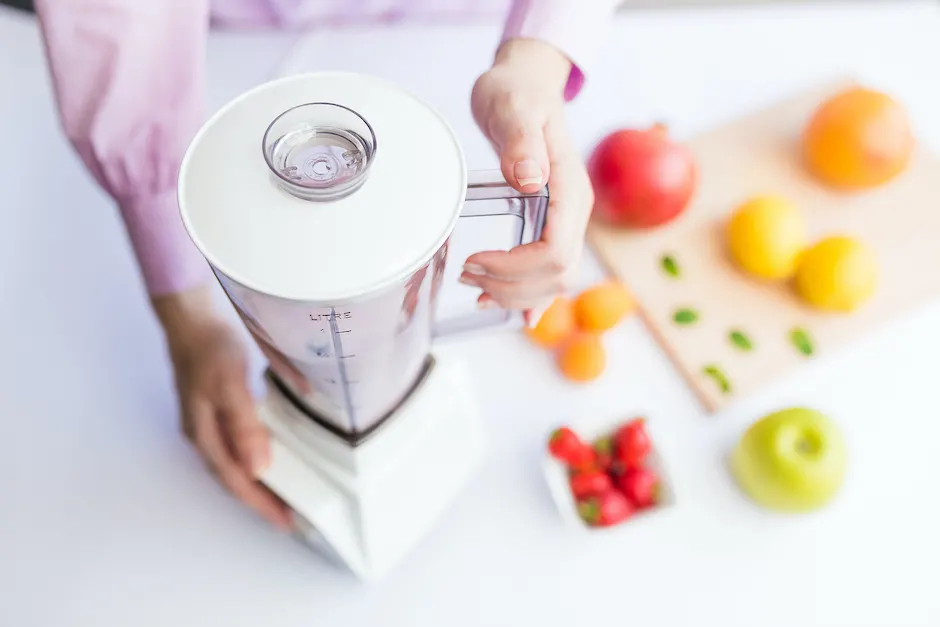
- Blender
Ready now?
Keep in mind that, while some of these tools may enhance your cleanse, they are totally optional.
If you haven’t signed up for the Clean Slate Cleanse, what are you waiting for? It starts soon, so go ahead and make a decision to get on the path to better health. Register now!