Kids love using and learning about essential oils. They especially enjoy choosing their oils and even creating their own blends. These essential oil DIY for kids will get your kids involved with learning the basics of essential oil blending.
Blending Essential Oils Made Simple

With a bit of knowledge, you and your kids can be on your way to making customized blends. But before you just begin mixing away, understanding a few simple techniques can ensure you don’t end up wasting your oils. One of the simplest methods of essential oil blending is mixing by scent group. Even kids can understand this method.
Oils can be classified in the following groups:
- Woody: cedarwood, cypress, eucalyptus, fir, juniper, patchouli, pine, sandalwood, spikenard, spruce, valerian, vetiver
- Herbaceous: angelica, basil, carrot, citronella, clary sage, helichrysum, hyssop, lavender, marjoram, niaouli, oregano, peppermint, rosemary, sage, savory, spearmint, tea tree, thyme, yarrow
- Citrus: bergamot, grapefruit, lemon, lemon balm, lemongrass, lime, mandarin, orange
- Floral: chamomile, geranium, jasmine, lavender, neroli, palmarosa, rose, ylang ylang
- Resinous: frankincense, myrrh, onycha
- Spicy: caraway, cardamom, celery, cassia, cinnamon, clove, coriander, cumin, dill, elemi, fennel, ginger, myrtle
To create a blend, you can select 2-3 oils from the same group or choose one from two neighboring groups to blend. The main idea is to keep a good balance. Instead of three woody oils and one floral oil, for example, choose one woody, one citrus, and one floral for a better balance. For younger kids, you can separate the oils into groups. Challenge older children to see if they can discern the aromas of each scent group.
For a lot more detail about this blending method, check out Creating Perfect DIYs with Essential Oils.
Once kids have created their blend, be sure to put it in a roller labeled with the name they choose. I love the Potions Kit from Whimsy & Wellness. It comes with small roller bottles, pretty gemstones, and even mica powder to make their creations extra special.
Make a Reed Diffuser
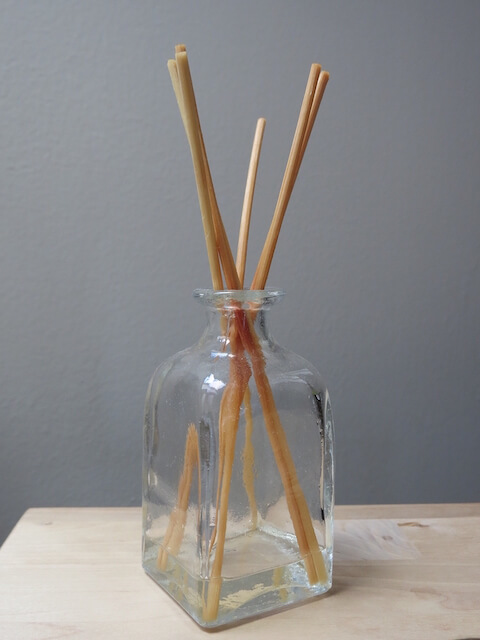
Reed diffusers are a great way to add fragrance to a small area. The best thing is they are super simple to make, and they make nice gifts as well.
It’s as simple as repurposing a glass jar, bottle or even a small mason jar, adding reed diffuser sticks, and attaching a pretty ribbon. Kids may want to paint or embellish the container with other decorative items as well.
Once your container is ready, simply add water and a few drops of essential oil. About two drops of oil per 1/4 cup of water will do the trick.
Make a Lavender Sachet
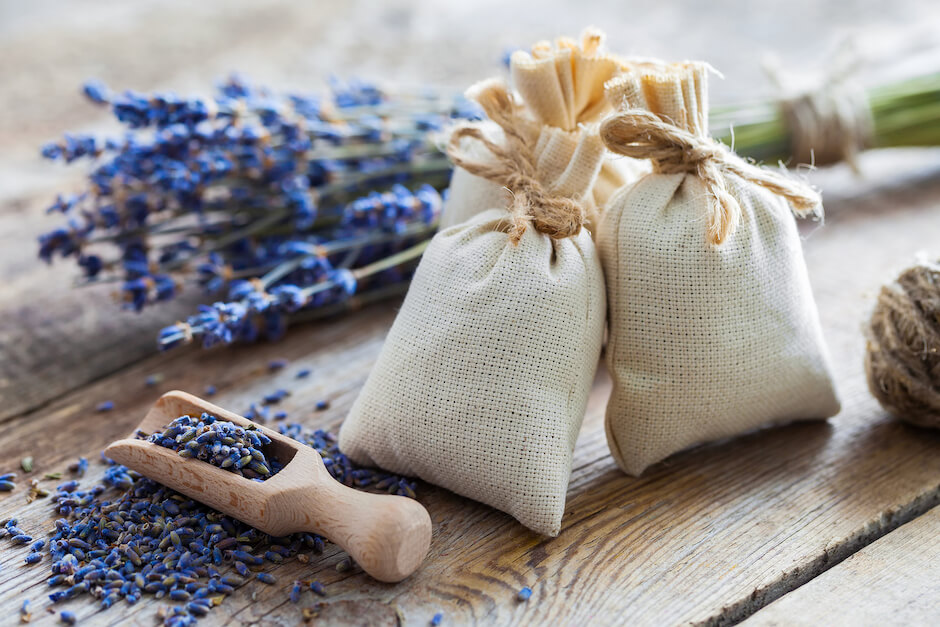
These Lavender Sachets are super quick and simple to make. Kids will love making them for gifts or to stash in a drawer or even under a pillow to enjoy the relaxing aroma of lavender.
Create a Colorful Car Diffuser
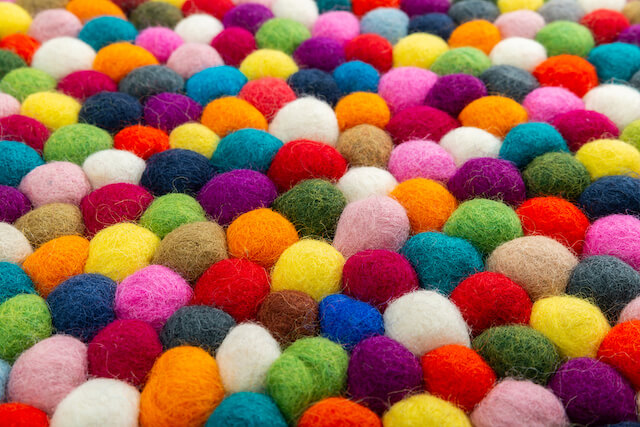
Busy moms and kids spend so much time in the car. What could be better than a colorful decoration that doubles as an evaporative diffuser?
What you need
- Felted wool balls
- Thread
- Ribbon or twine
- A strong needle
Instructions
- Thread the needle with a long strand of thread, at least 24 inches.
- Carefully pierce the needle through wool balls until several are on the thread.
- Tie ends together to form a circle.
- Attach twine or a ribbon, add essential oils, and hang from the rearview mirror of your car.
Make Bath Time Fun
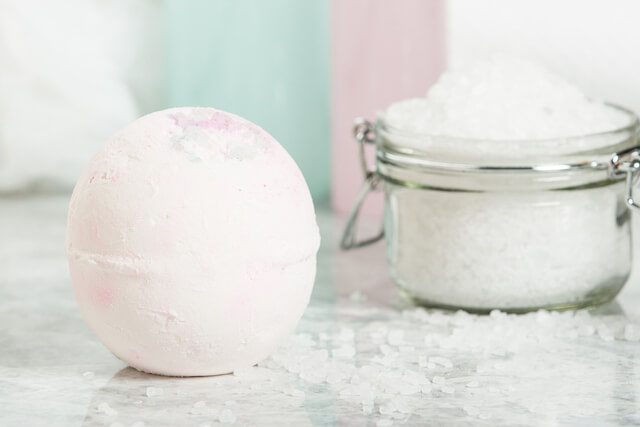
Help your kids create their very own essential oil-infused fizzing bath bombs to make bath time more fun.
What you’ll need
- 1 cup baking soda
- 1/2 cup citric acid
- 1/2 cup cornstarch
- 3 tablespoons epsom salt
- 3 teaspoons coconut oil, melted or sweet almond oil
- 15 drops of essential oil
- Small spray bottle of witch hazel
- Bath bomb mold
Instructions
- Combine baking soda, citric acid, corn starch, and epsom salt in a large bowl.
- Add melted coconut or almond oil and essential oil. Mix until well combined.
- Lightly spray witch hazel a few times until you can gather the mix in your fist and it holds its shape. Avoid spraying too much or your mix will start fizzing. You only need enough to slightly dampen the mixture.
- Press the mix into your molds and allow them to set for at least three hours before removing.
Mix Up Some Play Dough
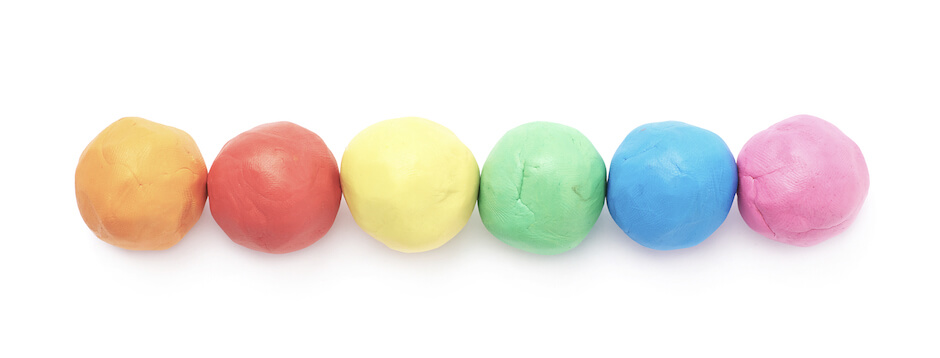
I posted this Essential Oil Play Dough a few weeks ago, and people have been going crazy for it! Children love helping mix the ingredients and selecting the essential oils for their dough. Every child loves to play with play dough, and this one is infused with essential oils for an aromatherapy experience!
After you’re done making DIY projects with the kids, why not wind down with a Coconut Lime Bath Soak for yourself?
Have a favorite essential oil DIY for kids? Comment and share below!


