I can’t say enough good things about this body butter: From the texture, to the aroma, to the silky smooth feel of it on my skin. It has become my favorite body lotion! The combination of oils is super moisturizing and nourishing to skin. You better make up enough of this Hot Cocoa Body Butter to keep some for yourself! Add an extra special touch with the free downloadable label for your finished product!
A Few Tips Before We Get Started
I love the gentle cocoa aroma of this recipe that comes from the cocoa butter. Personally, I do not feel the need to add essential oils to the lotion. However, if you want a different aroma or benefits of essential oils, feel free to add them in.
A little goes a long way. When you first apply the body butter, it feels a tiny bit greasy. However, I find that it absorbs almost instantly for a smooth, satiny feel. It does not leave skin greasy.
Hot Cocoa Body Butter Recipe
Ingredients
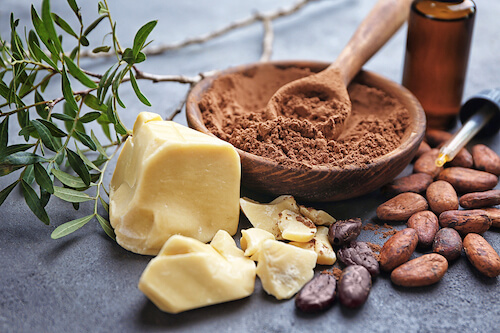
- 1/4 cup (1.75 oz) coconut oil
- 1/4 cup (1.75 oz.) shea butter
- 1/4 cup (1.5 oz.) cocoa butter
- 1 teaspoon vitamin E oil
- Desired essential oils, optional
Instructions
- Create a double boiler by placing a small glass bowl in a saucepan with water. Add coconut oil, shea butter, cocoa butter to the glass bowl.
- Turn heat on medium and bring water to a gentle boil. Stir mixture frequently until shea butter and cocoa butter melts completely.
- Remove from heat and stir in vitamin E oil and essential oils (if desired).
- Place the bowl in the freezer for about 10-20 minutes. When the mixture starts to solidify and turns opaque, remove from the freezer.
- Scrape the edges of the bowl and stir to incorporate. Then pour mixture into a mixing bowl for a high speed mixer.
- Beat mixture at high speed until light and fluffy, about 5 minutes. If you overmix, it will become dry and crumbly. If this happens, simply warm the mixture slightly, and start again.
- It should resemble whipped butter or cream when it’s done.
- Store body butter in a glass jar.
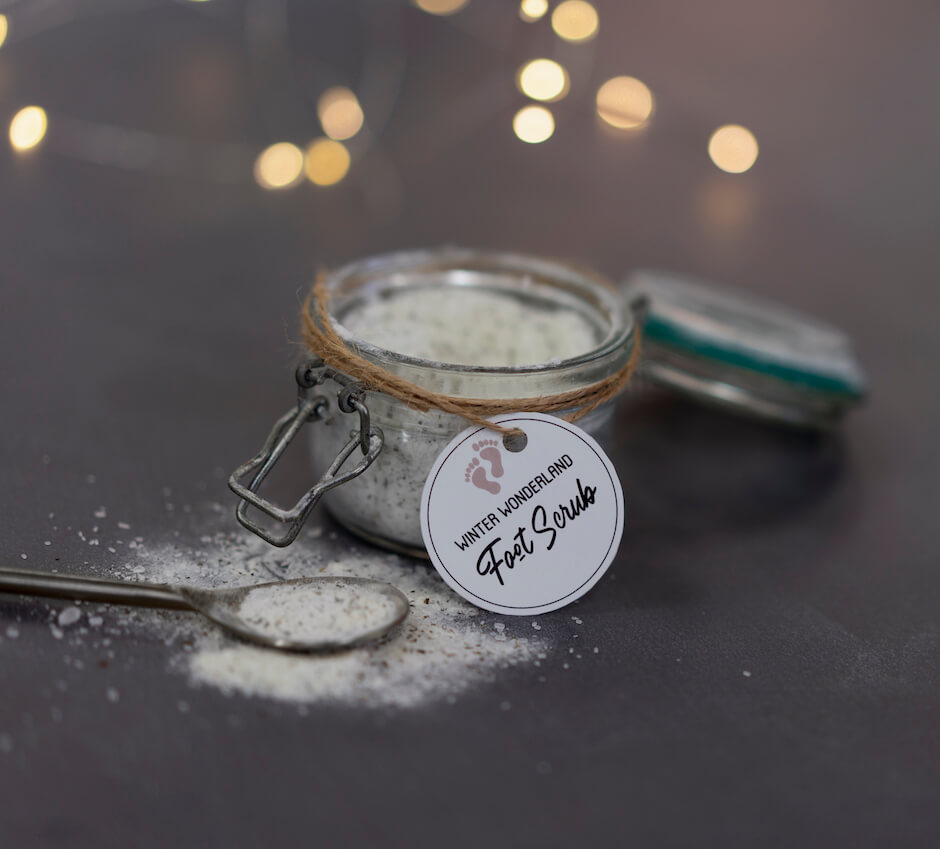
Download the Hot Cocoa Body Butter gift tag here!
Complete your gift with this Coffee Body Scrub or Pumpkin Pie Sugar Scrub!